Last updated November 18, 2026



Free written scope consultation - allowances, timeline, and change-order rules on paper before a single trade is scheduled
Driveway & Pavers Troubleshooting in El Monte: Common Problems and How to Fix Them
A paver driveway that sinks in its first couple of years rarely has a finish problem. The pavers themselves are fine, and the sand in the joints didn’t go bad. What failed is almost always underneath: the base wasn’t excavated deep enough, wasn’t compacted in proper lifts, or wasn’t built to handle the clay-heavy soil found across much of El Monte. Homeowners often pay to relevel the surface and watch it sink again, because nobody diagnosed the cause. This guide works backward from the symptom you can see to the installation decision that created it, so you know whether you’re looking at a real fix or a delay. Every problem below has a root cause, and every root cause points to a specific repair.
Quick Answer
Most paver driveway problems in El Monte come down to one of five causes: a shallow or under-compacted base, water with nowhere to drain, failed edge restraint, joint sand that has washed out, or root and utility settlement beneath the pavers. Repair cost depends entirely on which one you’re facing. A joint sand refill or edge repair is modest, while a full tear-out and rebuild of the base runs considerably more because the labor is in the excavation and compaction, not the pavers. Before you call anyone, match your symptom to its cause. That single step decides whether a repair is honest or a waste of money.
Styles & brands we work with
- Kitchen remodeling
- Bathroom remodeling
- Home additions & ADU
- Roofing
- Windows & doors
- Driveway & pavers
- Fence
Table of Contents
- How Do You Diagnose a Sunken Paver Section?
- What Is the White Staining on My Pavers?
- Why Do the Edges of a Paver Driveway Come Loose?
- Polymeric Sand vs. Regular Sand: Which Failed?
- Why Does Water Pool Against the Driveway?
- Repair or Rebuild? The Honest Decision Point
- Common Mistakes to Avoid
- Frequently Asked Questions
How Do You Diagnose a Sunken Paver Section?
You diagnose a sunken section by watching how the depression behaves over time and in wet weather. A low spot from base failure gets deeper season by season and usually spreads. Settlement over a utility trench shows up as a linear depression, often straight, that mirrors where the utility line runs. Root intrusion creates a heave and a dip together as a nearby tree’s roots lift one side and open a void on the other. Same symptom at the surface. Three completely different repair scopes.
Here’s the diagnostic sequence we walk homeowners through:
- Mark the shape. Trace the depression with chalk. Is it a bowl, a straight line, or a wavy ridge-and-dip? Bowl points to base failure. Straight line points to utility trench settlement. Ridge-and-dip points to roots.
- Check the surface runoff. Pour a bucket of water on it. If it pools in the bowl, you have a drainage contribution on top of whatever is happening underneath.
- Look at the joints. If the joints around the sunken area are wider than the rest, the pavers have shifted relative to their neighbors and the bedding layer is compromised.
- Test with a level or straightedge. A four-foot level laid across the depression tells you how deep it really is. Under a half inch is often cosmetic. Over an inch and spreading is a base problem.
- Ask when it started. If it appeared in the first two seasons, the base is the suspect. If it appeared after ten years of good service, wear and water infiltration are more likely.
Once you know the shape, you know the scope. A bowl under two years old means the base was never compacted in layers. It needs excavation and rebuild, not releveling. A straight line means settlement over a trench, and the repair depends on how deep the void goes. On the older streets around El Monte, utility work has been cut and patched many times, and those patches are where pavers settle first.
What Is the White Staining on My Pavers?
Efflorescence is a white mineral powder or crust on the surface of the paver. The white powder is a salt. It forms when mineral salts inside the concrete paver dissolve in water, migrate to the surface as the paver dries, and crystallize there. In El Monte, water hardness is a real contributor. Municipal water here carries a high mineral load, and irrigation overspray or repeated wetting of the pavers gives those salts a constant ride to the surface. The staining is usually cosmetic. It is not a sign of a failing driveway unless it keeps coming back after repeated cleaning, which points to water moving through the pavers from a source you haven’t addressed yet.
When Efflorescence Is Cosmetic
- It appears in patches after wet weather and fades after a dry spell.
- A dry-brush pass knocks most of it off.
- The pavers themselves feel hard and solid underfoot.
- There’s no source of constant water, no broken sprinkler head or downspout aimed at the driveway.
When It Signals Water Infiltration
- It returns within a week or two of cleaning, every time.
- It appears on a section of driveway with a nearby sprinkler or downspout.
- The joints have sand washout at the same time.
- There’s a slight dampness on the surface long after other parts have dried.
If the staining keeps returning, the fix is eliminating the water source, not applying more cleaner. Hard water from irrigation is a common culprit in El Monte, so redirecting sprinklers and checking for overspray is the first step. Cleaning with a proper efflorescence remover comes second. We’ve seen a lot of drives stained again inside a month because the sprinkler was still hitting the surface. If the pavers have white staining plus soft, sandy joints, that’s a combination that means water is getting in and the joint sand has gone. You may be looking at both an efflorescence problem and a joint failure, and both need attention. For a new build or a full replacement, reputable hardscape brands like Belgard or Techo-Bloc offer their own manufacturer product guarantees, which states the material side of the equation clearly.
Why Do the Edges of a Paver Driveway Come Loose?
Edges come loose for one of two reasons: the restraint wasn’t anchored properly, or it wasn’t strong enough for vehicle traffic in the first place. This is one of the most common things we look at when we’re called out to a driveway that’s starting to look shabby around the perimeter. The pavers themselves are usually fine. The edge is where the failure lives.
Plastic Spike-In Restraints
Plastic edge restraints that anchor with spikes driven into the soil are the cheapest option and the most common failure in driveways. They work fine for a garden path. Under tire load, the spikes work loose from the soil, the edge pivots, and the pavers begin to spread outward. Once the perimeter moves, the interlock loosens across the whole field, and you’ll see the pavers fan out at the ends of the driveway first.
Commercial-Grade Alternatives
Vehicle-rated drives need restraint anchored into a concrete footing or a properly bedded concrete curb, not a plastic spike into soil. Some restraints are aluminum with longer, wider anchors set into a concrete base. Others use steel. The important thing is that the edge can’t move, no matter how much lateral force the tires push into it.
What a Real Edge Repair Looks Like
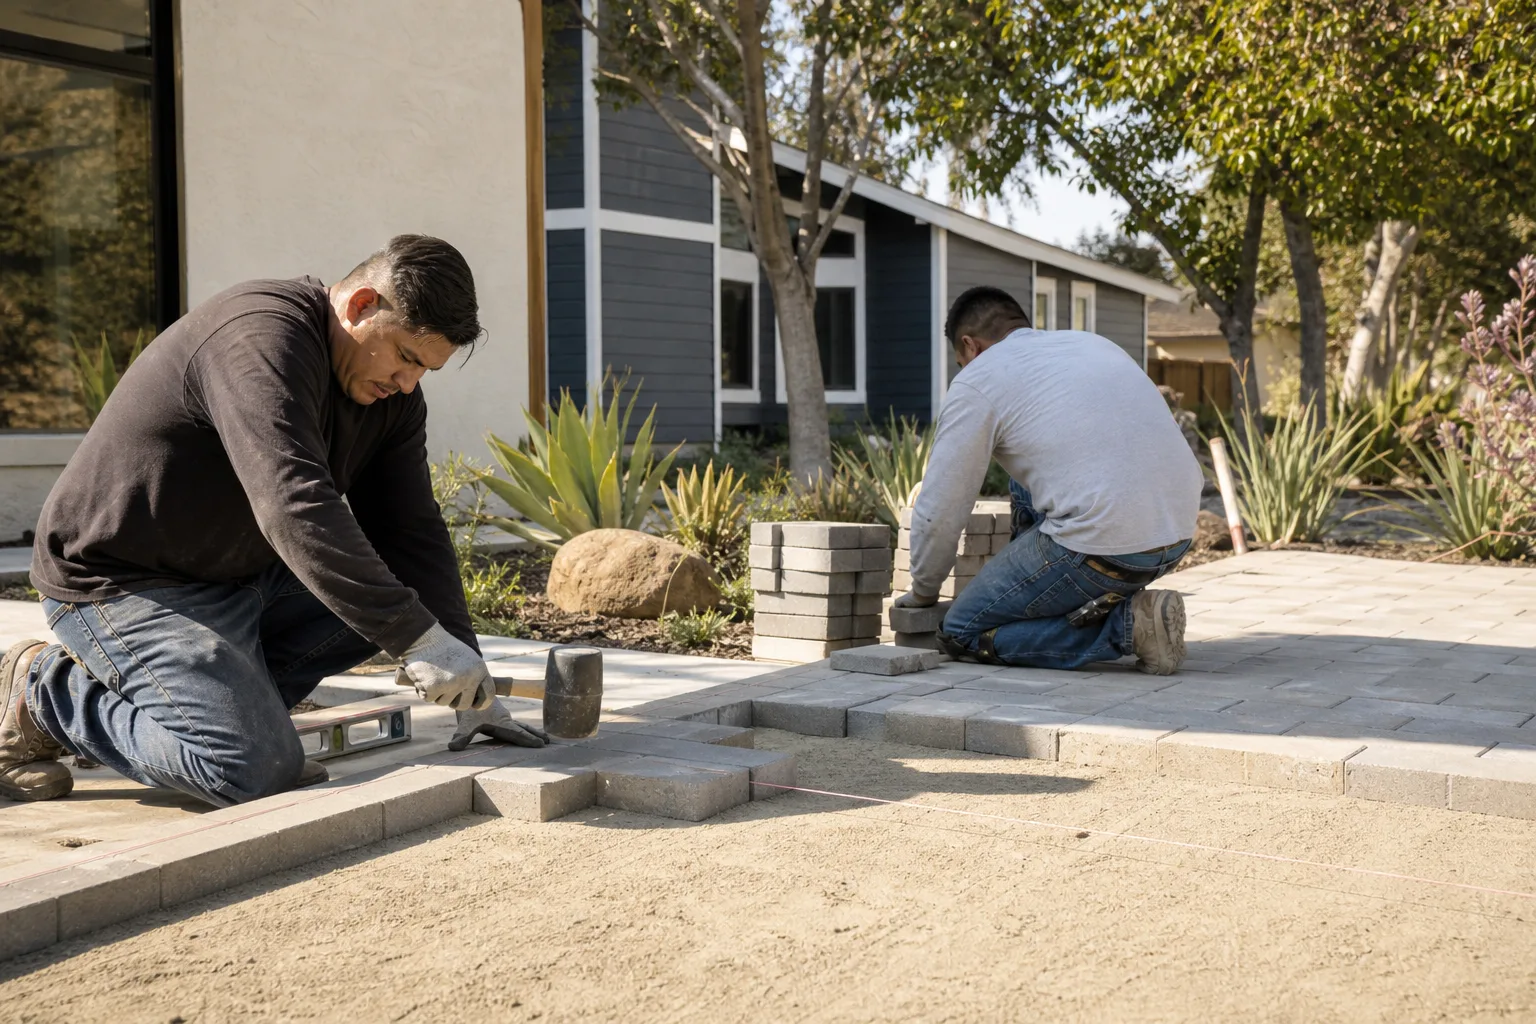
- Lift the perimeter pavers back to the last stable row.
- Excavate the loose soil down to a firm bearing layer.
- Pour a small concrete footing or set a concrete curb along the edge.
- Anchor the new edge restraint into that footing.
- Re-lay the perimeter pavers and re-sand the joints.
That’s a real repair. If a contractor proposes to “hammer the spikes back in,” you’re paying for a delay, not a fix. The best driveway & pavers work always starts with the edge and the base, because those two elements decide whether everything else stays put. If your perimeter is failing and you’re considering a full reinstall, the same rule applies to whether you build it back with restraint designed for vehicle load.
Polymeric Sand vs. Regular Sand: Which Failed?
You identify which sand failed by how the joints look and how they behave when wet. Regular sand is loose, shifts easily, and washes out with rain and washing. Polymeric sand has a binder that cures hard but can fail catastrophically if the initial application didn’t fully wet and cure the joint, or if the joint wasn’t deep enough to receive it. Knowing which is in your driveway tells you whether a reapplication is a real fix or just a delay.
Regular Sand Failure
- Joints feel loose and gritty underfoot.
- Sand washes down the slope or to the street after a rainstorm.
- Weeds grow readily in the joints.
- Reapplication is maintenance, not repair. It’s normal for regular sand joints to need refilling periodically.
Polymeric Sand Failure
- Joints look crusty and cracked in places while still solid in others.
- Pieces of the joint come up as a chunk when you poke at it.
- The joint finishes crumble away from the paver sides, leaving a gap.
- Sometimes the sand looks fine for the first month, then fails when the weather dries out.
Here’s where the honest answer gets uncomfortable. Polymeric sand applied over a joint that is too shallow, or over a base that’s still shifting, will fail again. Cracked polymeric sand across a whole area is usually telling you the pavers themselves are moving. Re-sanding that area just puts a fresh crack in the same place. In our experience, the fix is only a fix when the pavers are stable, the joint is deep enough, and the sand is properly compacted and wet out at installation. In El Monte, where dry spells are long and the occasional heavy rain comes down on a hard surface, a shallow joint will wash out faster than a deep one, so depth matters more here than in wetter climates. If your polymeric sand cracks and the joints alongside are still solid, that’s the good case. Patch it. If the whole field is cracking, look for the movement underneath.
Why Does Water Pool Against the Driveway?
Water pools against a driveway when the surface falls toward it instead of away, or when the surrounding yard and downspouts dump runoff onto the pavers with nowhere to go. This is the single most overlooked cause of long-term paver problems, and it’s the reason a lot of paver driveways in El Monte stain white and blow joints after the first rainy season. The pavers themselves can’t fix bad grading.
We walk the site looking for three things:
- The fall of the driveway. Water should drain away from the house and toward the street or a proper drain, not toward the garage or the fence line. A shallow puddle that never drains usually means the surface has a dip, or the fall was set too shallow.
- Downspout and gutter outfalls. A downspout aimed straight at the driveway puts a huge volume of water onto the pavers. Over time, it erodes the joint sand and washes away the bedding layer beneath.
- Where the neighboring lot drains. On many lots in El Monte, the neighbor’s grade drains onto yours, or the roof runoff from a nearby building lands at your fence line. Fixing this with a small swale or a channel drain is often cheaper than the paver damage it causes.
The repair depends on the cause. A dip in the driveway itself can sometimes be corrected with a localized lift and rebuild of the base under that section. Bad fall across the whole drive usually means the whole surface has to come up and be rebuilt to a new slope, which is a bigger job but the only honest answer. Downspout and grading issues get handled first because no paver repair survives a water source that keeps working on it. Draining a driveway properly at construction is cheap. Fixing it after pavers have failed is not, and it’s the single improvement most worth insisting on before a rebuild starts.
Repair or Rebuild? The Honest Decision Point
Repair a paver driveway when the failure is localized, the base under most of the field is still sound, and the pavers themselves are worth lifting. Rebuild when the base is the problem across a large area, the pavers have been sitting in water for years, or the edge restraint needs replacement along with the base. The threshold in most cases is somewhere around a third of the driveway area. If the failing zone is smaller and stays put, a localized repair is honest. If it’s larger or spreading, a rebuild is usually the cheaper path over the next ten years because you’ll otherwise be back into the same driveway repeatedly.
When a Repair Makes Sense
- A single sunken section caused by a failed utility patch, where the rest of the drive is dry and stable.
- Edges lifting while the field stays sound. A perimeter rebuild is real, targeted work.
- Joint sand washout without signs of base movement. Re-sanding and correcting the water source is the answer.
- Efflorescence and staining without any soft spots. Cleaning and eliminating the water source usually suffices.
- One root intrusion where the tree can be managed or removed. Cut back the root, rebuild the section.
When a Rebuild Is the Only Real Answer
- Sinking that started in the first two years and has spread across the whole drive. The base was never built correctly.
- Water pooling across multiple sections. The grade is wrong, and patching just moves the puddle.
- Polymeric sand failing over large areas while the pavers themselves wobble underfoot.
- Foundation-adjacent settling that threatens the slope away from the house.
- Sunken sections over a network of old utility trenches, where the void underneath extends far beyond the depression you can see.
If you’re near the line, the best thing to do is get a written, itemized evaluation from someone who will look under the pavers, not just quote a surface lift. The written estimate sets the final price, so insist on seeing the scope in writing. For a rebuild, brands like Belgard, Unilock, and Cambridge Pavers all offer product guarantees that come with the materials, and the driveway & pavers work is only as good as the base underneath whatever brand you choose.
Common Mistakes to Avoid
- Releveling without fixing the base. If the base was the problem, lifting the pavers and resetting them in new sand sinks again within a season or two. The lift looks great on day one and fails by the next wet season.
- Refilling joint sand without fixing the water. If water is the source of your washout, refilling the joints adds sand to a stream that carries it away. Find the water source first.
- Hammering the edge spikes back in. Plastic spike-in restraints on a driveway loosen again under load. The honest repair anchors the edge into concrete.
- Treating efflorescence as a cleaning problem only. White stains that return within weeks are telling you water is moving through the pavers. Cleaning without a water fix is a recurring cycle.
- Not checking the downspouts and sprinklers first. In El Monte, hard water and irrigation overspray are frequent contributors. Redirecting them costs almost nothing, and it’s the first thing we look at.
- Skipping the permit and inspection. Most cities require a permit for driveway replacement and grading changes. Skipping it means you own the consequences if a slope or drainage issue shows up later.
- Choosing the lowest bid without a written scope. A number without an itemized scope tells you nothing about how deep the excavation goes or whether the base is compacted in layers. The written estimate is the document that protects you.
- Letting a small problem stay small. A one-foot sunken section that’s approached early usually needs a localized base repair. Let it spread for years and it becomes a rebuild.
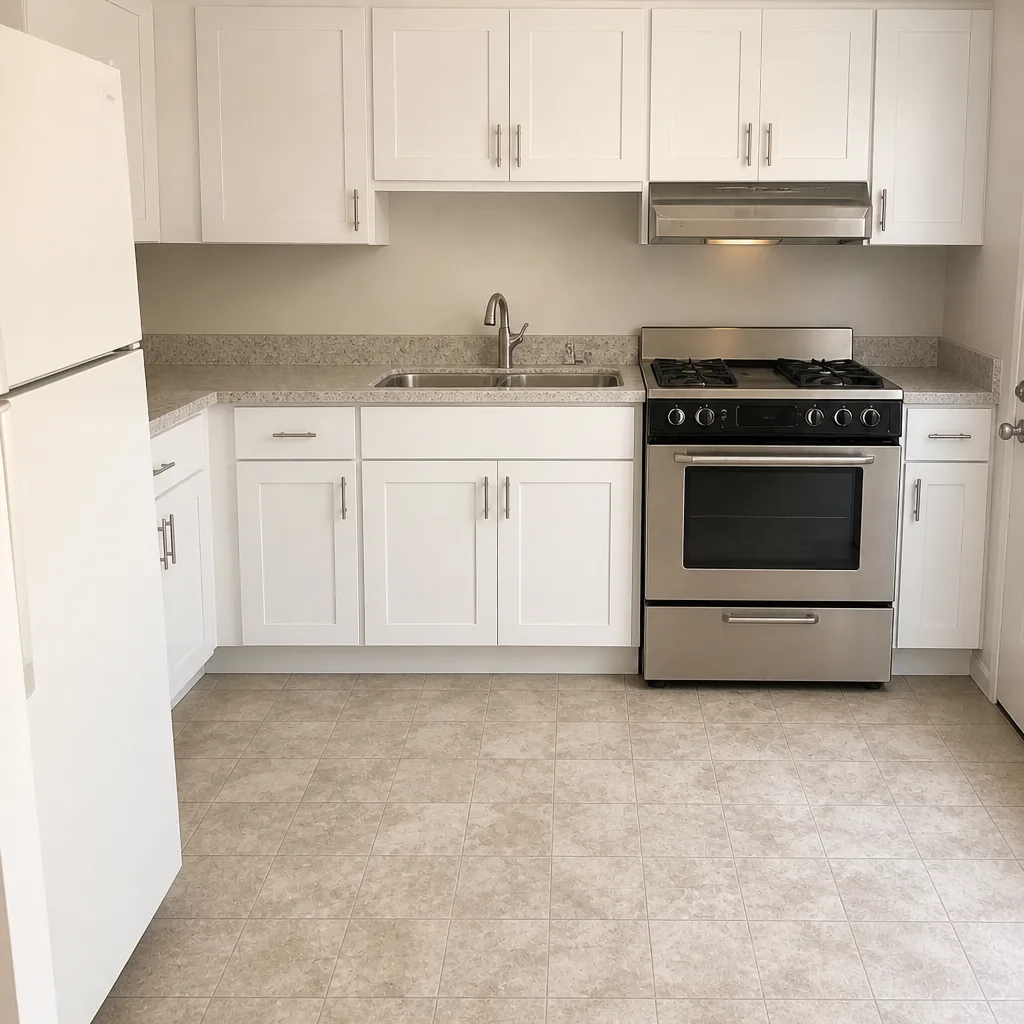
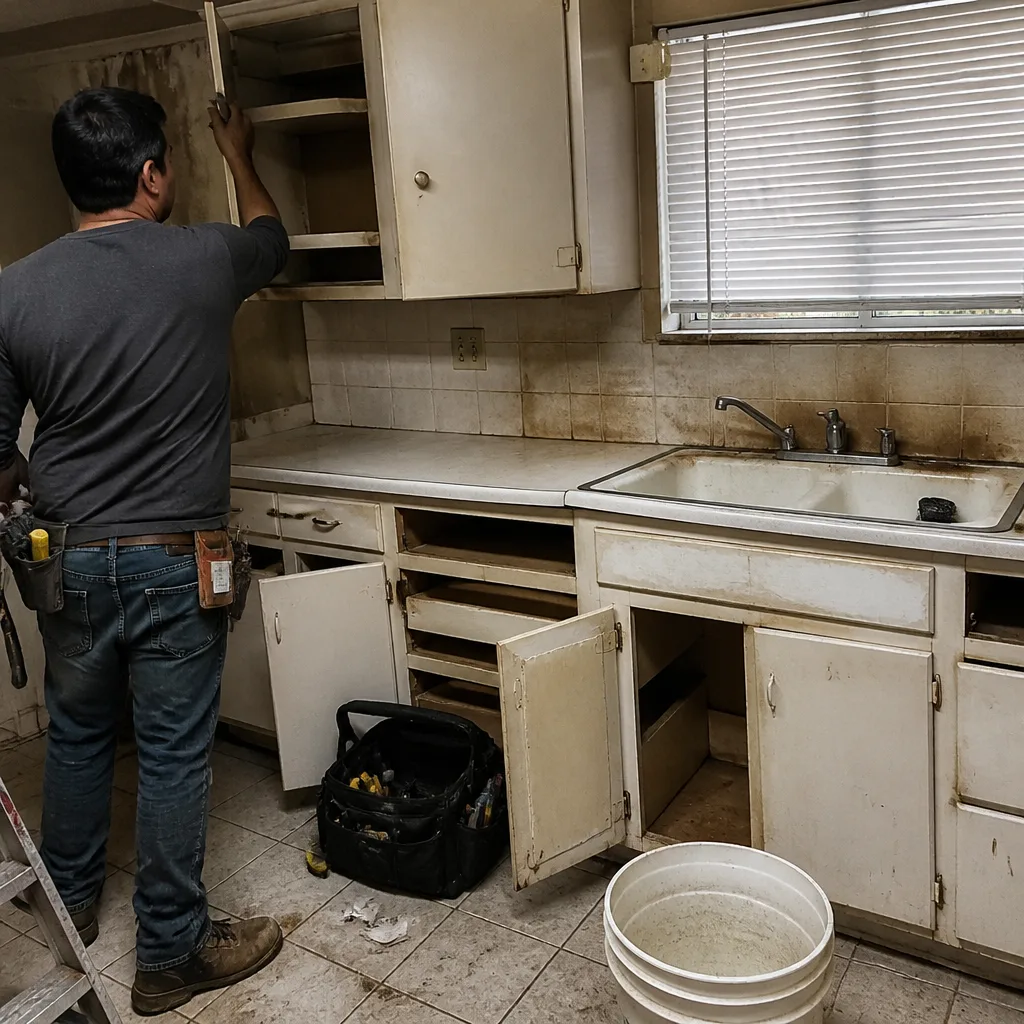
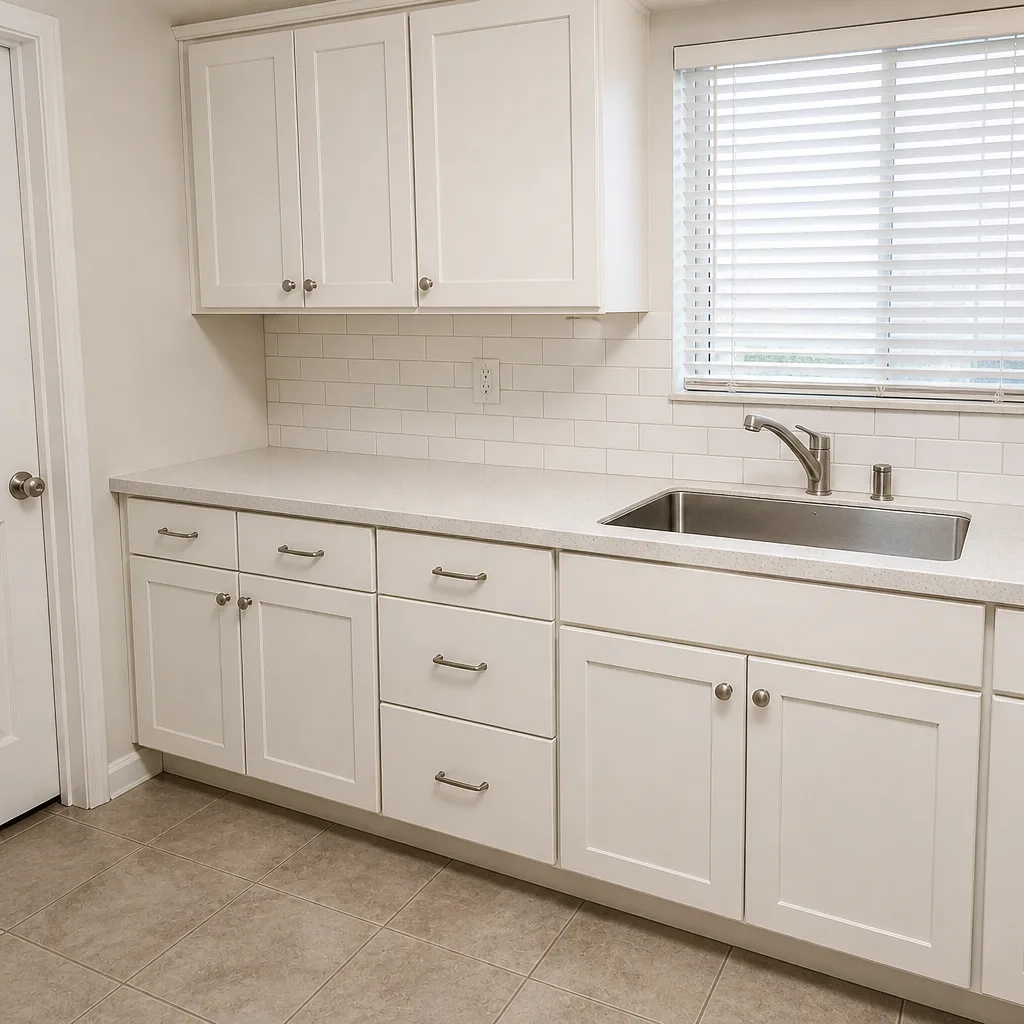
See the difference
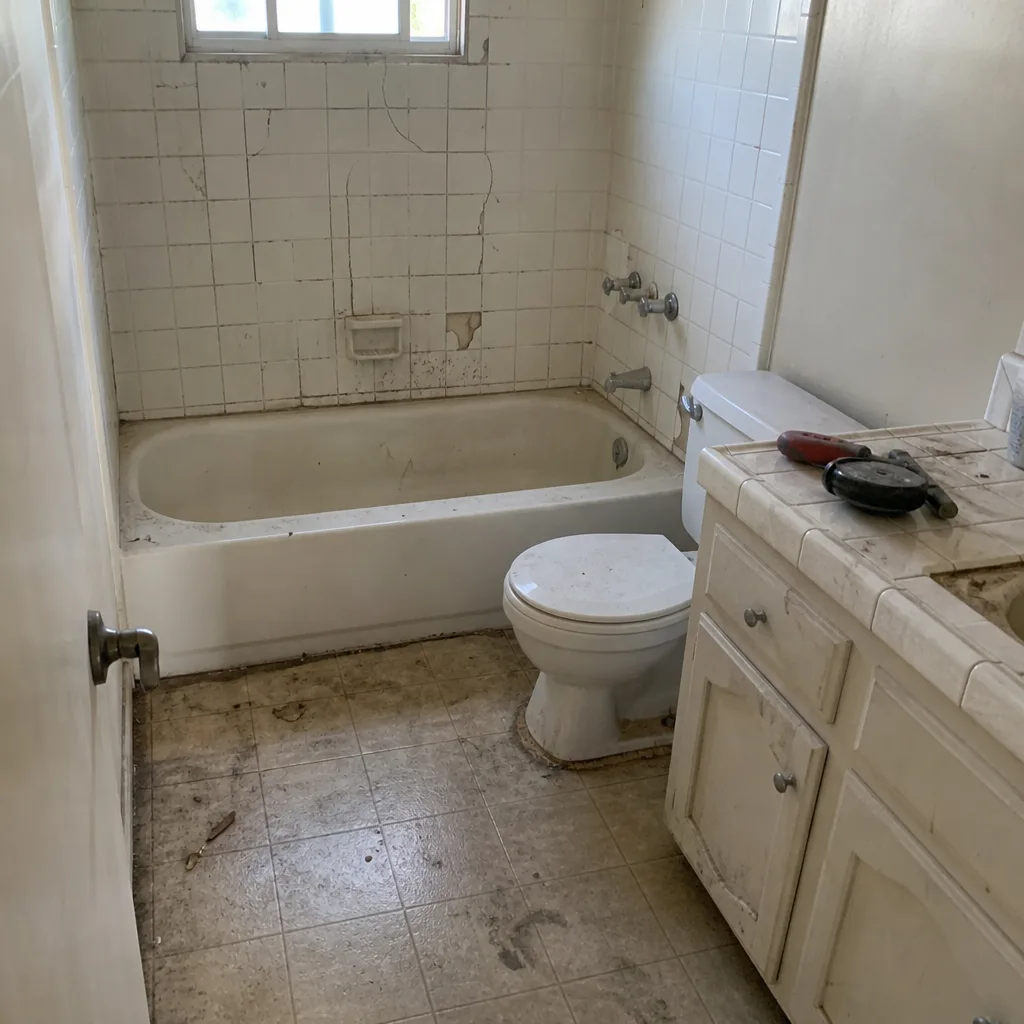 Before
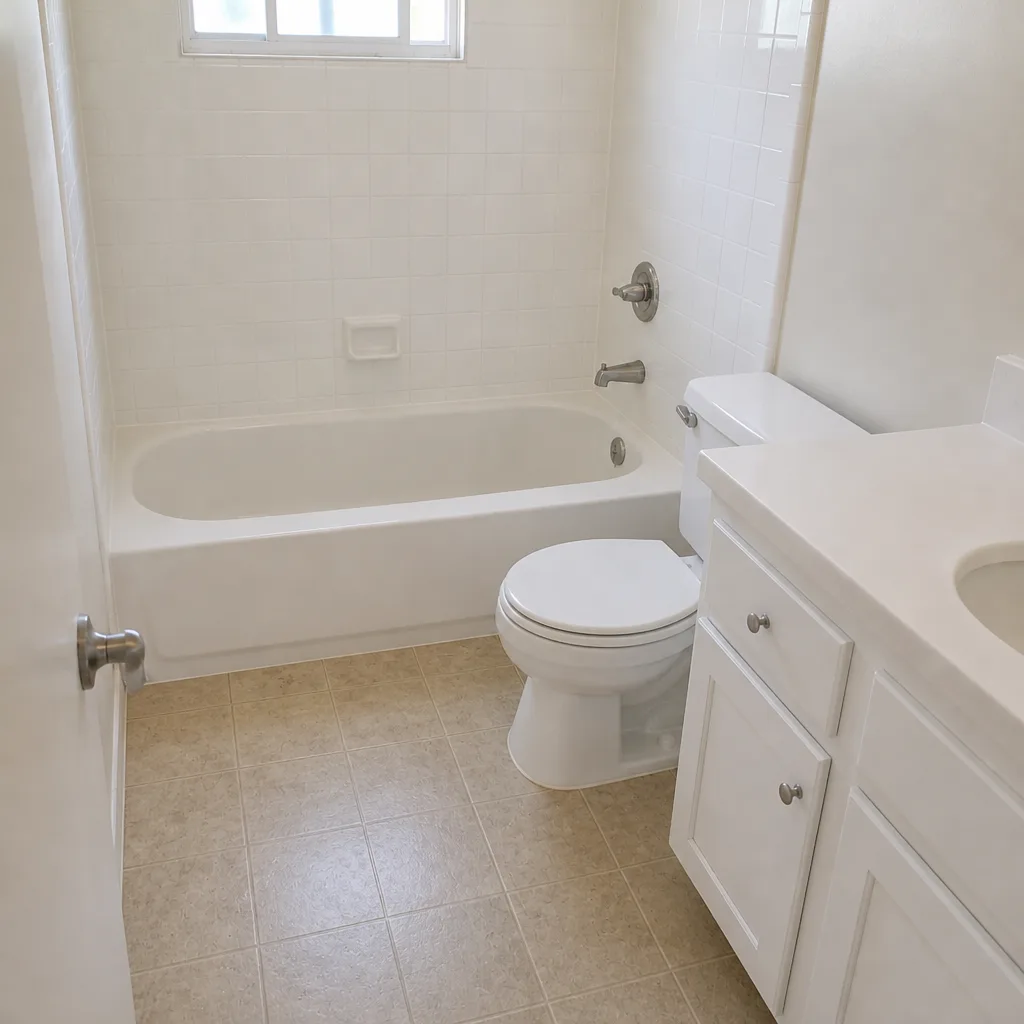 After
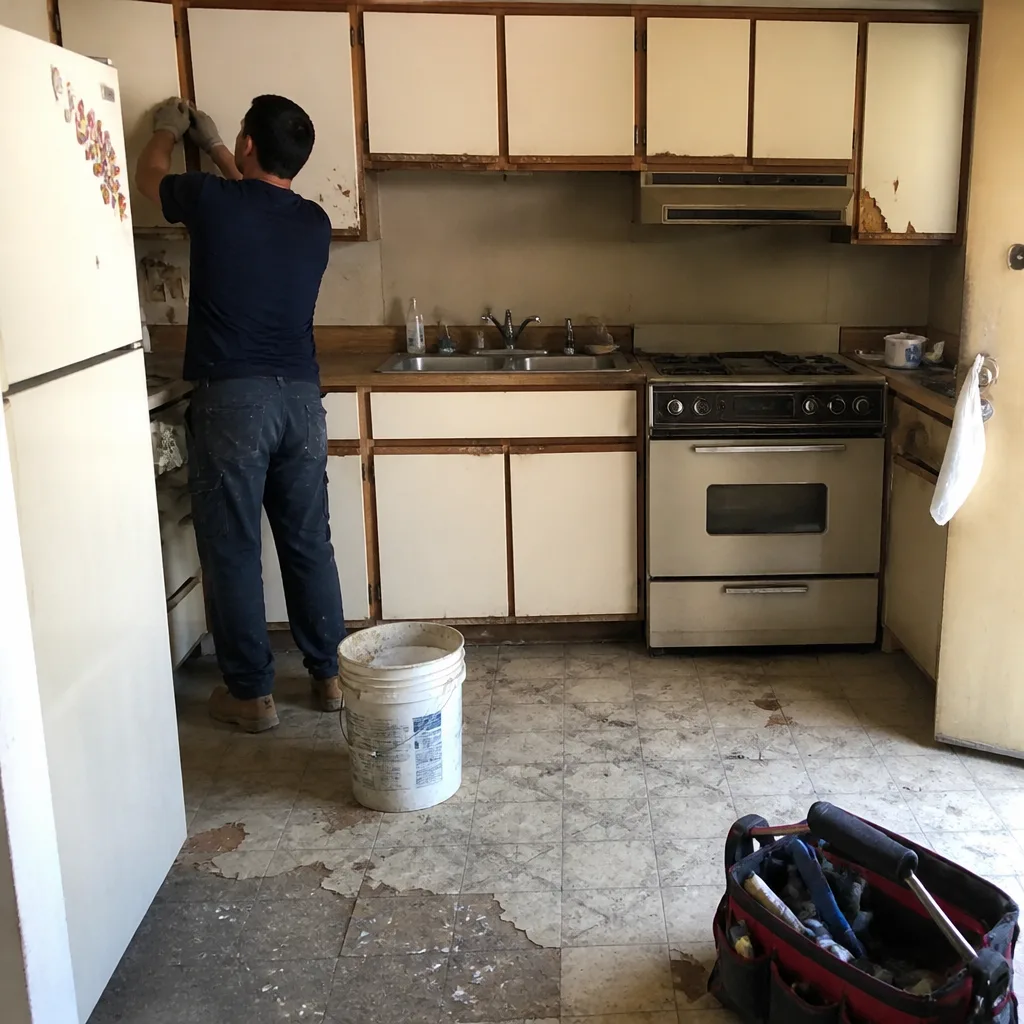 Before
 After
 Before
 After
When to Call a Professional
Call a professional when the sinking is spreading, when joints and edges are moving together, or when water is pooling against the house or garage. Those are the cases where the wrong repair costs you twice: once for the patch, once for the rebuild that follows. Call us when you can’t tell from the surface whether you’re looking at base failure, utility settlement, or root intrusion, because the difference in repair scope is significant. We also come out for efflorescence that keeps returning after cleaning, edges that keep lifting, and any driveway where the pavers feel soft or wobble underfoot. Free estimates are available in El Monte, and a written, itemized quote tells you exactly what needs doing and where the price lands.
If you’re planning a wider exterior project, our driveway & pavers page covers material selection and installation scope, and our fence installation page covers how the fence line interacts with a failing driveway edge, which is a common pairing in older El Monte neighborhoods. When the driveway work is part of a larger addition, the home additions & ADU page covers the site work that often touches driveways and grading. For the full scope of our exterior work, see the main Construction El Monte page.
Frequently Asked Questions
The cost depends on the repair scope, and pricing is set per job by a written estimate. A joint sand refill or a localized efflorescence cleaning sits at the low end because the work is surface-level. An edge restraint repair sits in the middle. A full tear-out and rebuild of the base and surface sits at the high end, because excavation, base compaction in layers, and re-laying are the labor-intensive parts. Call (844) 320-2624 for a free estimate so the price reflects what’s actually under your pavers, not a guess.
Because the base wasn’t excavated deep enough or wasn’t compacted in proper lifts. When a base is laid in one thick pass rather than compacted in layers, the soil underneath settles unevenly under load. In El Monte, where much of the soil holds moisture differently than sandy ground, the effect is magnified. Releveling without addressing the base sinks again within a season or two. The honest fix is excavate, rebuild the base in compacted layers, and re-lay. Call (844) 320-2624 to get it looked at.
Usually not. Efflorescence is a cosmetic mineral staining caused by salts migrating to the surface, and it often fades after a dry period. It becomes a serious concern when the staining keeps returning within weeks of cleaning, especially on a section of driveway near sprinklers or a downspout. That pattern points to water infiltration through the pavers, which needs a source fix, not more cleaner. El Monte’s hard municipal water makes recurring staining more likely here than in many other places. Call (844) 320-2624 for an evaluation if it keeps coming back.
It depends on whether the joint failure is regular sand or polymeric sand, and whether the pavers themselves are stable. Regular sand washout from rain and washing is normal maintenance, and re-sanding is a real fix. Polymeric sand that has cracked across large areas while the pavers wobble underfoot means the pavers are moving, and a re-sand is a delay, not a repair. The honest call is re-sand only when the pavers underneath are solid. Call (844) 320-2624 and we’ll tell you which one you’re facing.
Most cities require a permit for driveway replacement and any grading change, so check with the building department before work starts. The permit and inspection process protects you if a slope or drainage issue shows up later, and it’s worth insisting on when you hire a contractor. We can walk you through what a typical permit scope covers in El Monte, and the estimate we write will reflect the permit cost. Call (844) 320-2624 to talk it through.
The timeline depends on the repair size and weather. A localized section repair or a joint sand refill is usually quick, often done in a short visit or a single day. An edge restraint repair along the perimeter of the driveway has a combined lift-and-rebuild timeline and may run a few days because the concrete footing needs to cure before the edge restraint can be anchored. A full tear-out and rebuild is a multi-day project due to excavation, base compaction, and re-laying. The written estimate spells out the schedule. Call (844) 320-2624 to schedule a free estimate.
The Bottom Line
Every paver driveway failure you can see at the surface points back to a decision made underneath. Sinking points to the base. Efflorescence points to water. Loose edges point to the restraint. Washed joints point to sand choice or drainage. Match the symptom to the cause, and you’ll know whether you’re looking at a real repair or a delay that will cost you a second time. Get a written, itemized estimate that states the scope, and if the failing zone is small and stable, a targeted repair is honest. If it’s spreading, rebuild the base and rebuild it once. For any of it in El Monte, call (844) 320-2624. We answer 24/7. Fast dispatch from 7am to 7pm, Sunday through Friday. Estimates are free and the written estimate sets the final price.
Written by the team at Construction El Monte.